Guide to Buying Eggs, Incubating Eggs & Hatching Eggs
Discover what to expect when buying eggs, incubating eggs, and hatching eggs. This short guide covers FAQs, incubators, broody hens, humidity tips, and how to care for your eggs during incubation. Learn about fertile eggs and the best practices for successful hatching.
Sarah Barratt
1/24/20265 min read
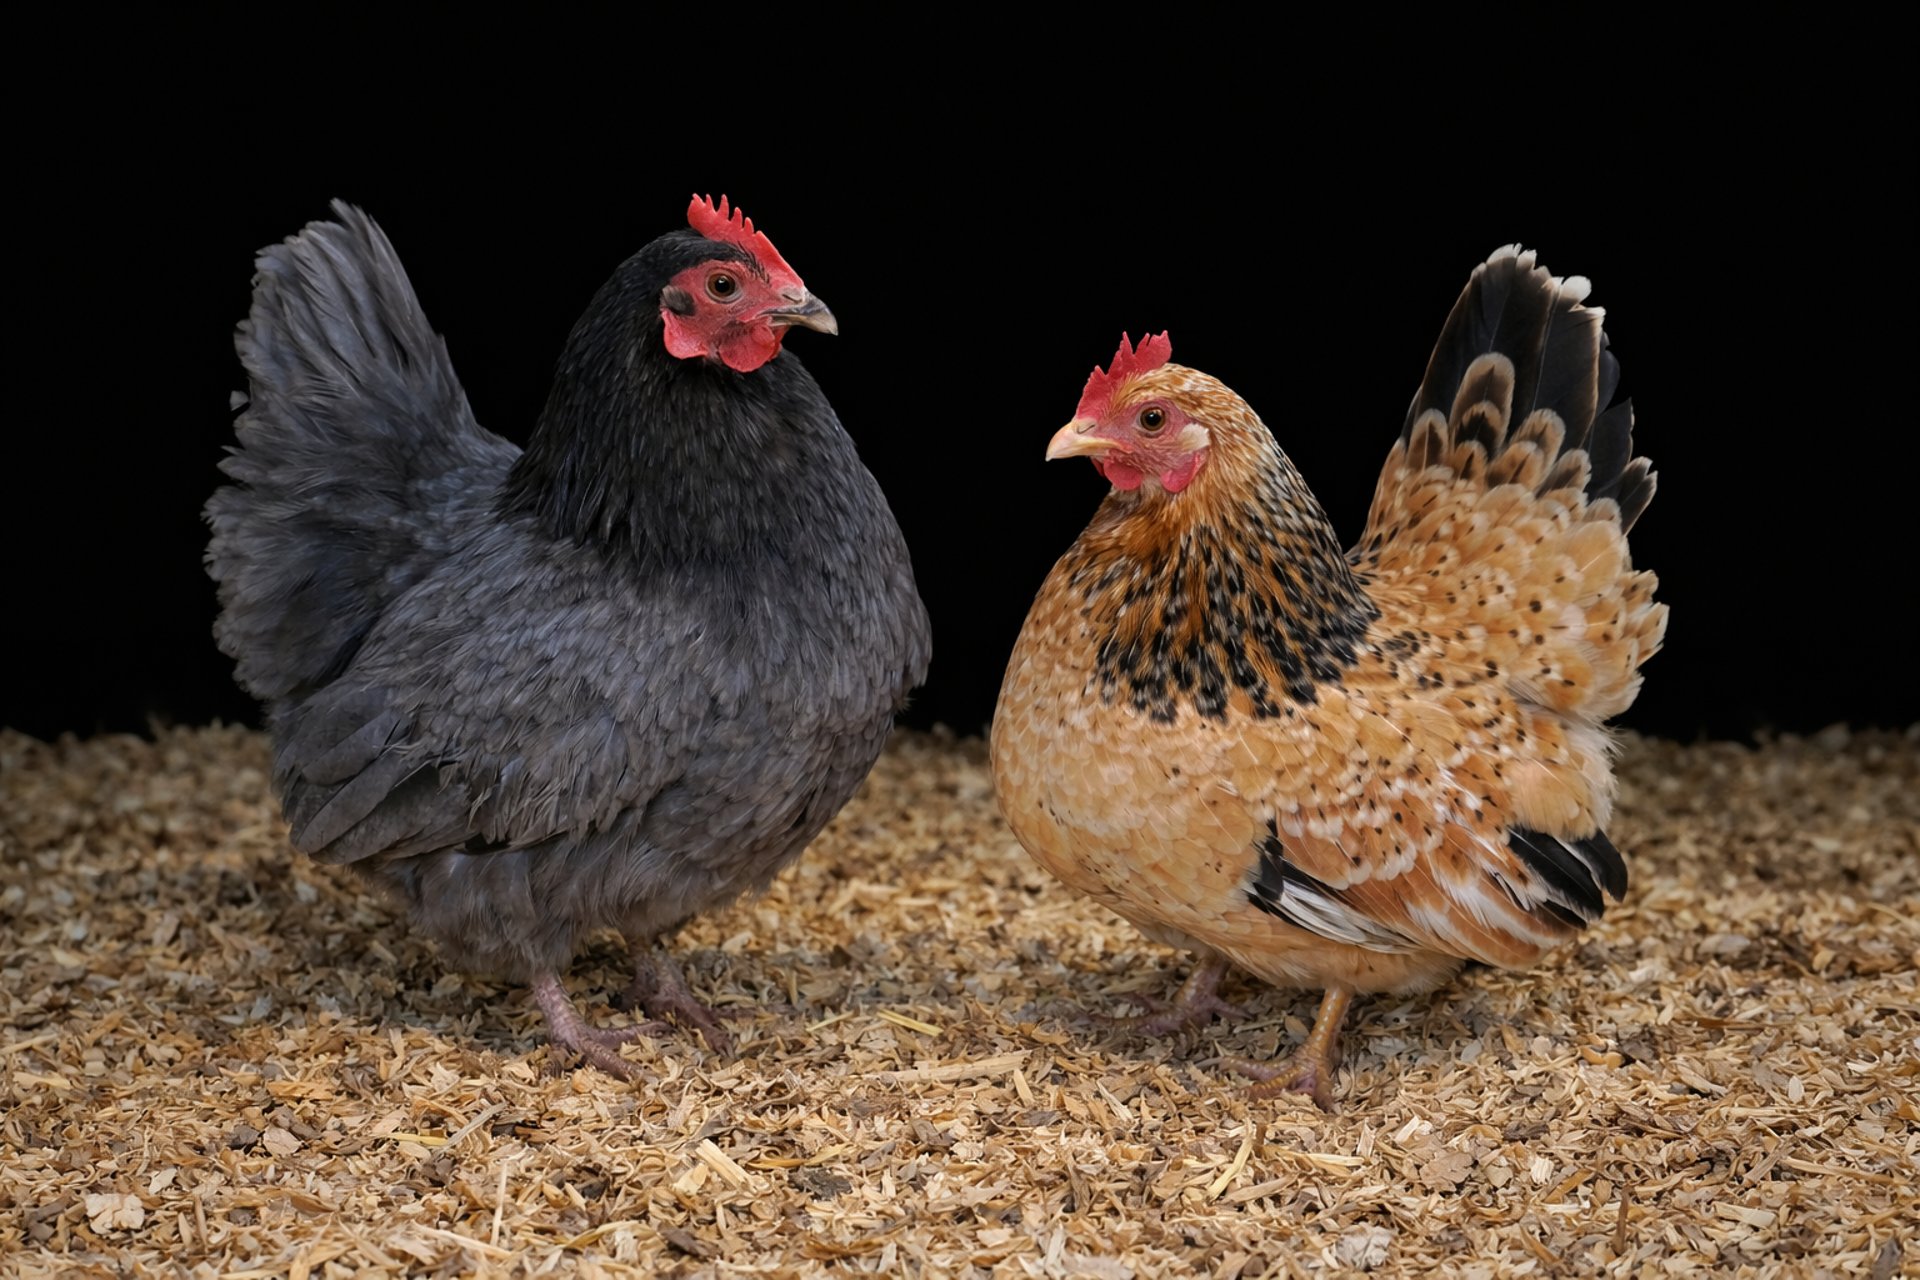
I often receive the question, how many chicks will hatch from my eggs? The answer is quite complex. While I may be a mother, I am not Mother Nature, so I cannot determine which eggs are fertile and which are not, as some may not have received attention from the cockerel. That said, I maintain a healthy ratio of males to females, and fertility rates here are very high. However, it's important to consider various other factors that might influence the success of hatching eggs. Here are some key considerations.
The shipping of eggs can significantly impact the outcome of your hatching project. A rough journey can halve the chances of success!. However, I ensure that I pack my eggs securely in sturdy boxes. The postal journey can lead to unseen damage alongside visible issues like detached air sacs or cracked shells. Don’t lose hope though, most eggs typically arrive in perfect condition. The ones that do not make it are often the result of a damaged box which is beyond our control, so maybe it's a good idea to tip the postman at Christmas!
The second crucial factor is the incubator or broody hen you choose. A low-cost incubator may not maintain a steady temperature, affecting your success compared to a more premium model, such as Brinsea which has always been my preferred brand. Brinsea are British, reliable, easy to fix if they break and offer unparalleled customer service. It’s wiser to invest in a smaller, high-quality incubator than a large, cheap one. Inexpensive models can lead to fluctuations in temperature, which can cause spikes and drops in synchronization with the room’s ambient temperature. With this in mind, it’s best to select a room that maintains a consistent temperature, avoiding south-facing windows and humid kitchens. While it’s fun to monitor the eggs around the clock, a north-facing room with limited traffic is considerably better suited for the incubator than the chaos of everyday life in a busy living room etc.
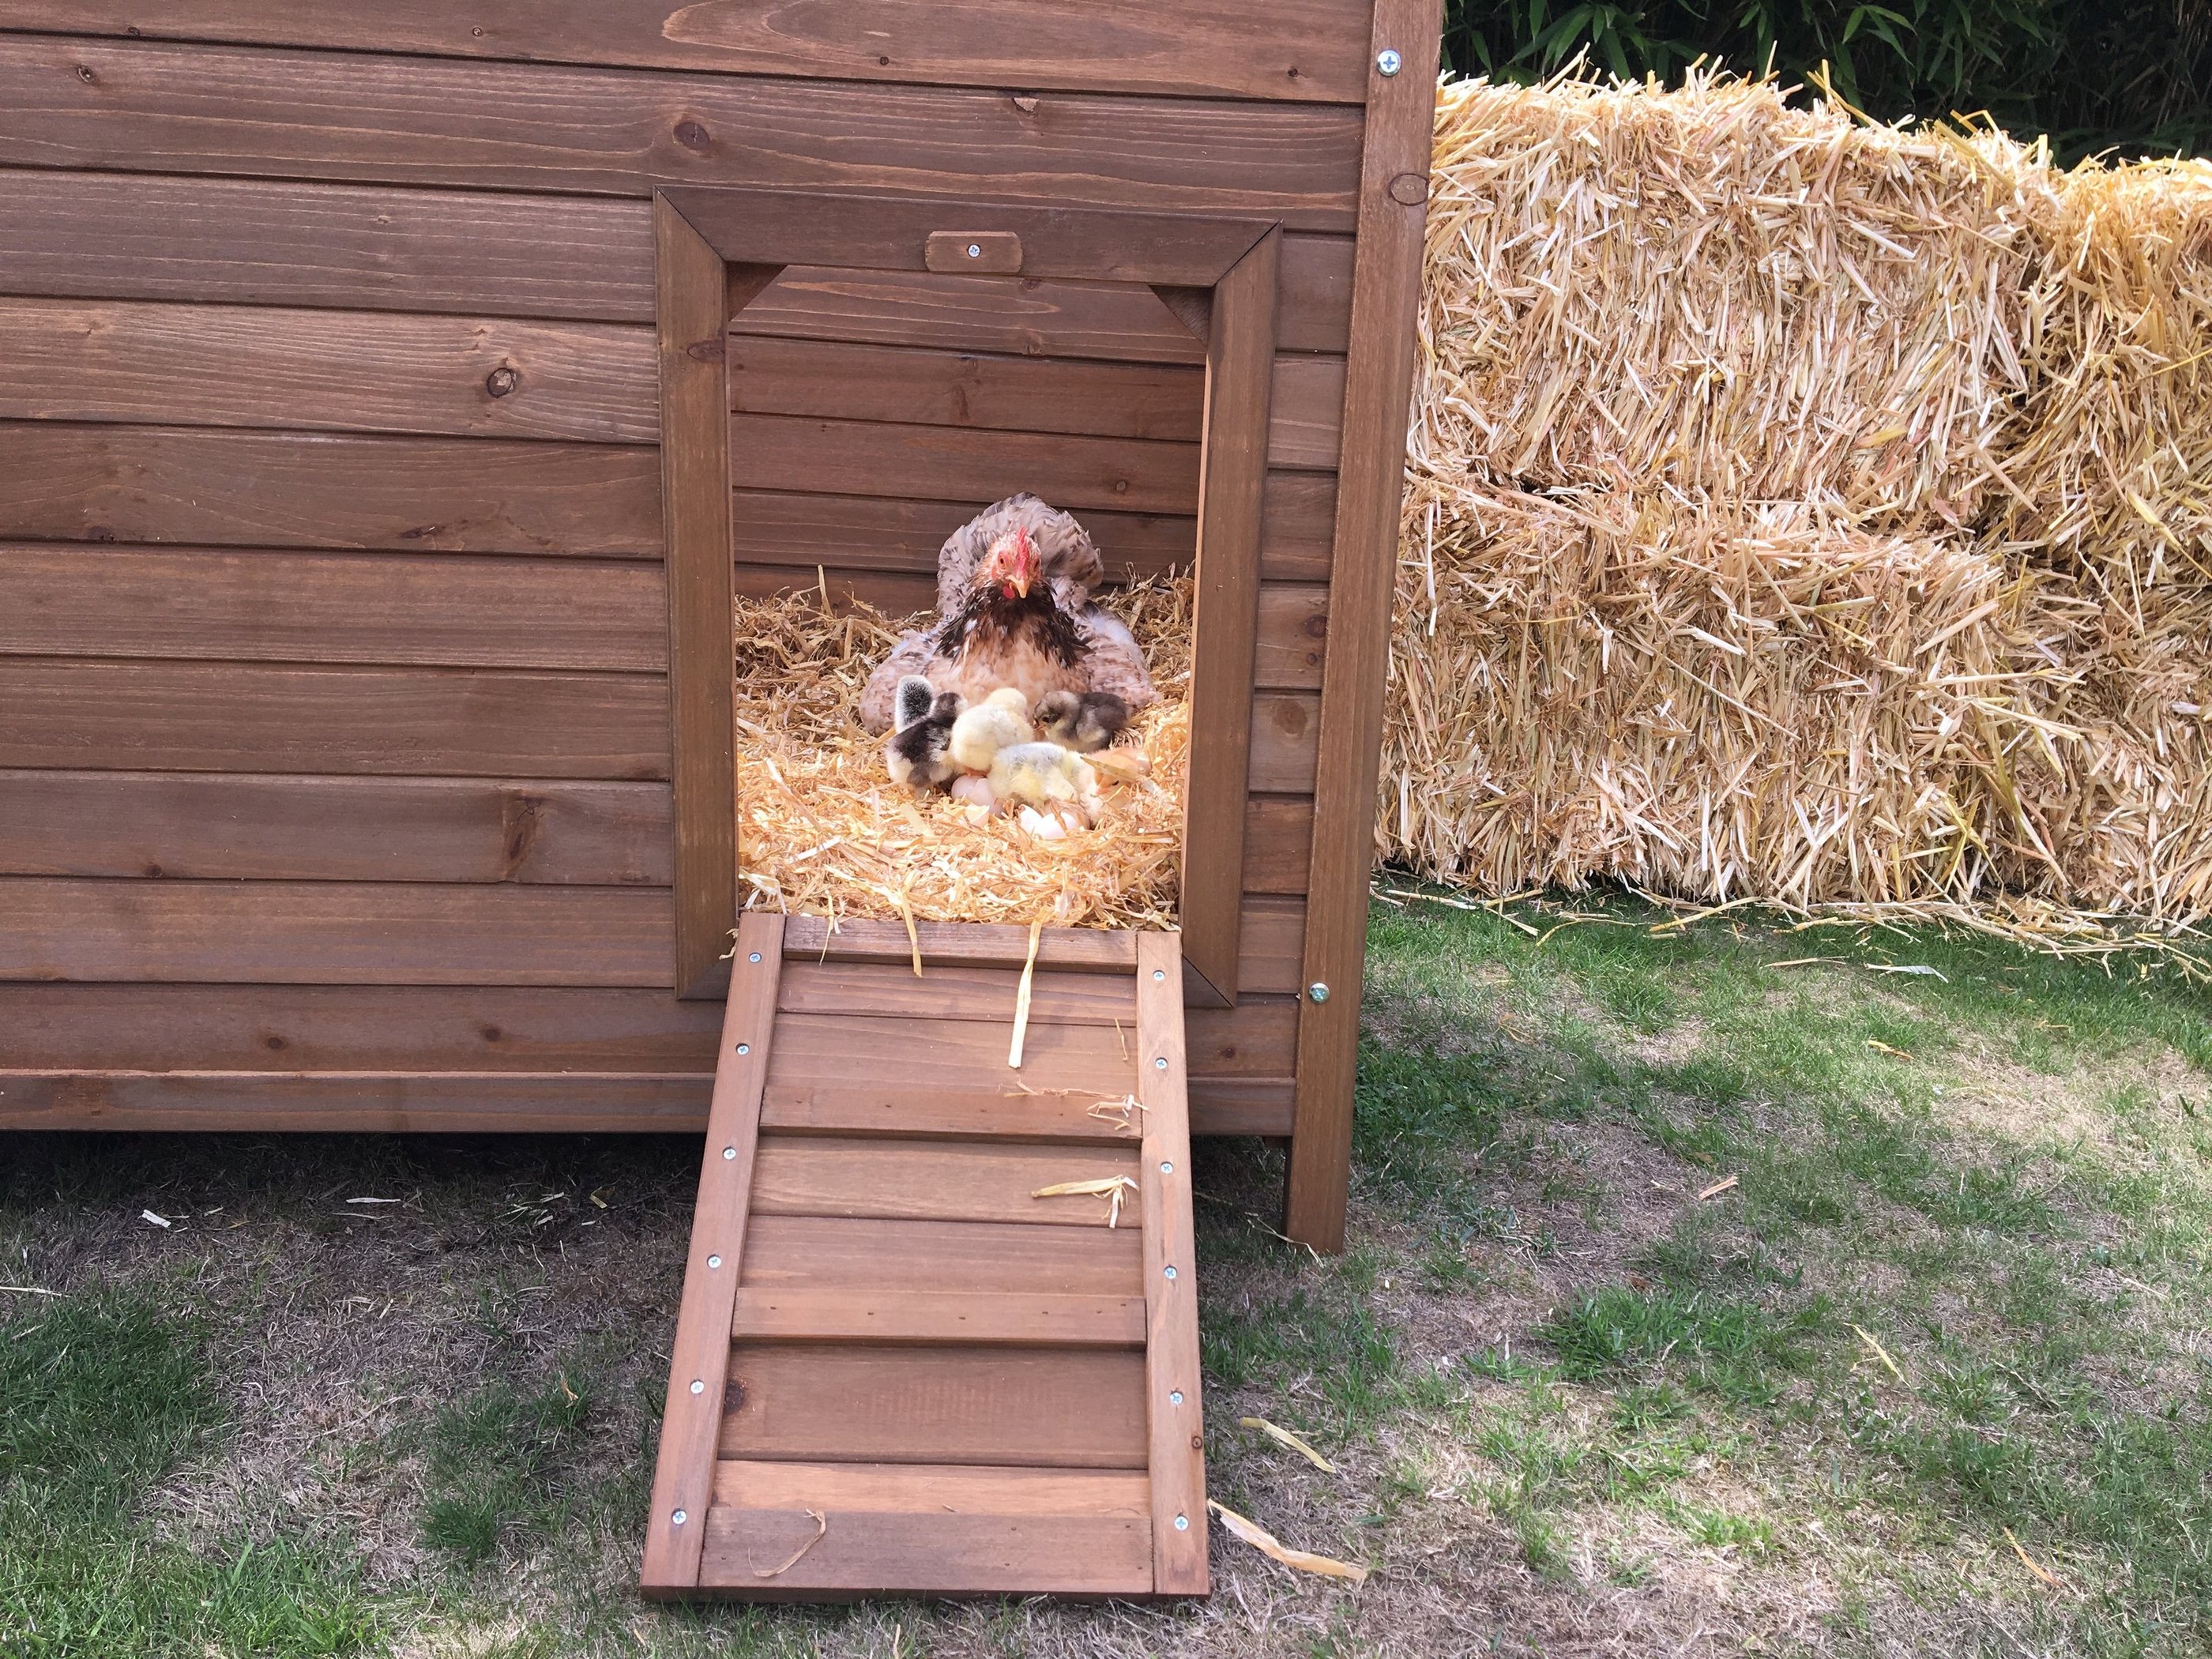
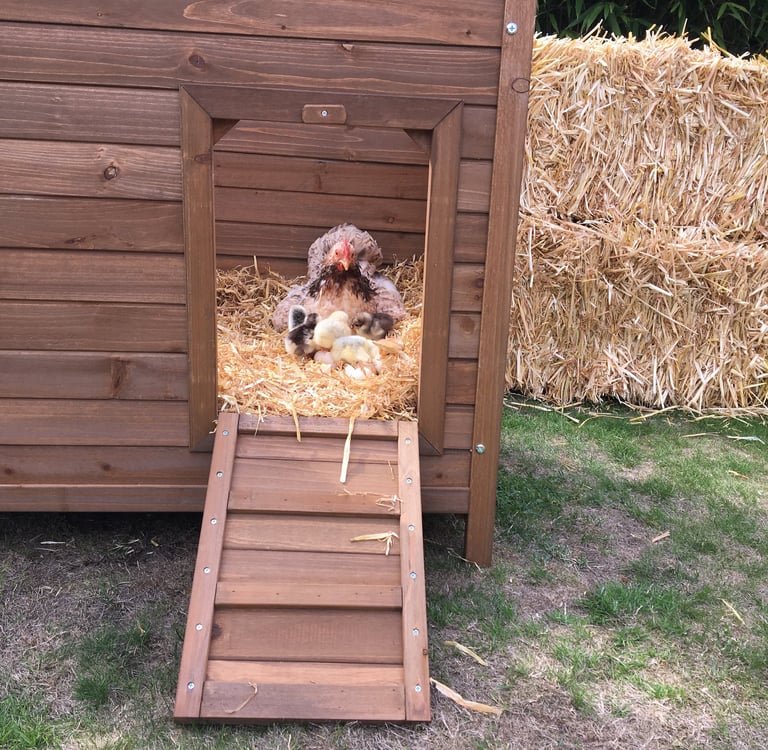
Broody hens can be excellent choices, and when they are experienced, they can naturally and successfully hatch eggs. However, they may become distracted, forget about the eggs, and leave them to go cold. Even once the chicks have hatched, they might not provide the necessary care, and unfortunately, the chicks could die if luck is not on your side. A good broody hen is invaluable, much like a reliable incubator. One that delivers consistent hatches is worth its weight in gold, in contrast to poor results from cheaper or inexperienced alternatives.
Once your incubator or hen is ready, you can select your eggs and place your order. If you’re nearby, you may choose to arrange to pick them up, but if not, first-class postage is preferable for faster delivery. I try not to post eggs on a Friday or Saturday as they could get delayed over the weekend, and you don’t want them sitting in an unfavourable environment while awaiting delivery. Being placed next to a radiator or in a hot or cold van won’t improve the chances of success, and your hatch rate could suffer as a result
When the eggs arrive, check for cracks and shell damage by candling them quickly. Then position them back in the egg box with the pointed end downwards for about 12 hours to let the yolk settle back into place. You can use this time to set up your incubator, ensuring it reaches the correct temperature and everything is functioning properly. Once you place the eggs inside, expect an initial drop in temperature due to the, cooler than incubating temperature, eggs needing time to warm up right through to the middle. Please do not adjust the temperature settings in response to this drop. If you do, it will lead to the incubator overheating once the eggs are warmed thoroughly. Trust in your incubator and avoid tampering with it during the first 24 hours. However, if the incubator gets too hot you should definitely remove the eggs immediately and recheck the settings. If you were to leave them in at this temperature and they heat right through to the centre of the egg, (more than 38.5 degrees for any length of time), they will be damaged and will possibly not hatch. If an egg reaches 40 degrees right through, they will die.
Now, you’re counting down to day 21. The first 24 hours after placing the eggs in the incubator counts as day zero. Do not consider this initial period as day one, as the eggs require this time to adjust to the temperature and register that this is the real deal. You must rotate the eggs 3 to 5 times daily by hand, or if you’re fortunate enough to have an automatic turning incubator, this will be done for you. It’s wise to mark a cross on one side of each egg and a circle on the opposite side to confirm they are being turned. The rotation prevents embryos from sticking to the shell and allows them to navigate the nutrient-rich contents within the egg. On day seven, it is advisable to candle the eggs to identify any that are blank or have ceased development. Those that have stopped will exhibit a thick red ring around the inside of the shell, commonly known as the "ring of death." If you see healthy spider veins, then you have an egg that is developing into a chick. At this stage, return it to the incubator and avoid further handling for the remainder of the incubation period. If you’re involving your children in the hatching process, or you just can't help yourself, you can check more often, but be mindful that many chicks have been lost when eggs are dropped, so handle them with care.
As you approach day 18, stop rotating the eggs to allow the chicks to position themselves optimally for hatching. Ideally, they will orientate themselves towards the round end of the egg, although many chicks might initiate hatching from the pointed end.
As far as humidity goes, I am a great fan of a dry hatch. I add no water at any point to my incubators and this works well for me. I believe a level of humidity between 30 and 40% is plenty for the whole process. When the chicks start to hatch the humidity will naturally rise due to the wet state of the chicks. This provides a natural rise which helps the rest of the chicks. Too high a % throughout the duration of incubation and the eggs do not lose enough moisture from within, leading to mushy chicks and chicks that drown as they break into the air sac due to the water that is still evident in the air space.
Once you see your first chicks starting to pip (the first chip out of the shell) and zip (the process by which they break through the shell around in a circle, sealing off blood vessels as they go, you will be itching to be involved. PLEASE do not try to help any chicks out of the shell unless it's a dire emergency as you will more than likely cause a haemorrhage as the tiny blood vessels will not have been sealed off. 99% of the time Chicks will hatch with no assistance whatsoever and the ones that do not manage it usually have a reason for failing. I am going to write a separate article on when and how to intervene as there is too much to consider to put on this page.
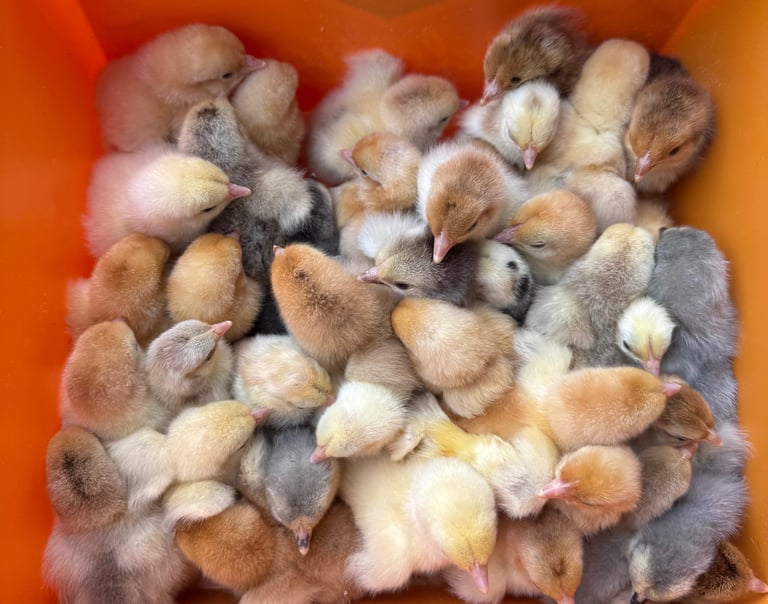
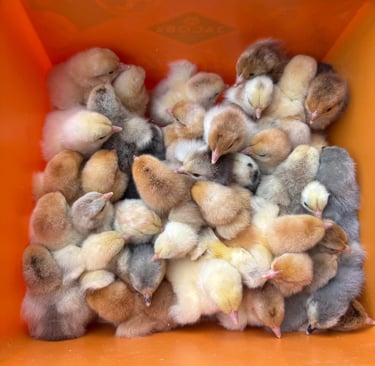
Once all of your chicks have emerged from their shells you will have the fun task of moving them to a brooder. Chicks can stay in the incubator for up to 48 hours before they need to come out. They will have absorbed the remains of the yolk and this keeps them fed and hydrated for this period of time. They may roll the other eggs around but ignore this as it will do no harm to the unhatched chicks.
Congratulations, you are a Chicken mummy or daddy.